


as promised, here is an 'after' spring cleaning picture (before). there is still a lot of stuff, i know, but at least almost everything is in a logical place and semi-easily locatable. there are also still individual areas that need to be addressed (kitchen cabinets, a few more boxes of paper/photos/stuff to sort through) but i'll tackle these a little at a time, not necessarily immediately.

|
|
i haven't been crafting as much as i wanted to, but am still taking a photo.a.day and spent much of the week doing some spring cleaning. i'm very much a pack rat, it's so hard for me to throw things away and/or stay organized and be able to find stuff when i need to, but i think i'm getting a little better (probably hard to tell from the photographs!). it actually looks much better now than what you see in the photo, and i hope to post an after picture soon. i think the process of taking photos of my stuff before i throw them out or put them away helps me.
also, here are some miscellaneous photos from the past week:
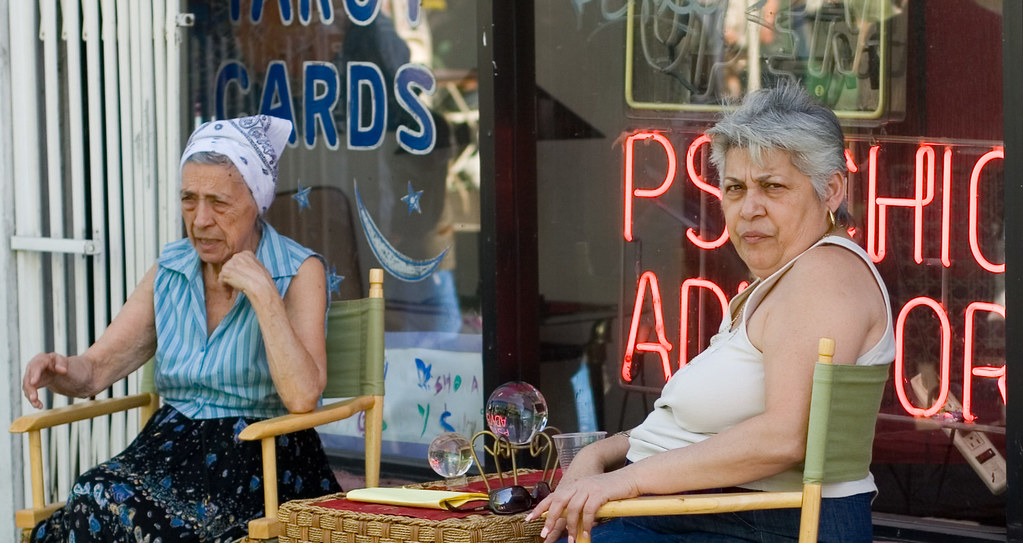 psychics |
 thai new year |
 rice cooker cartoon |
 bus stop |
 salton sea |
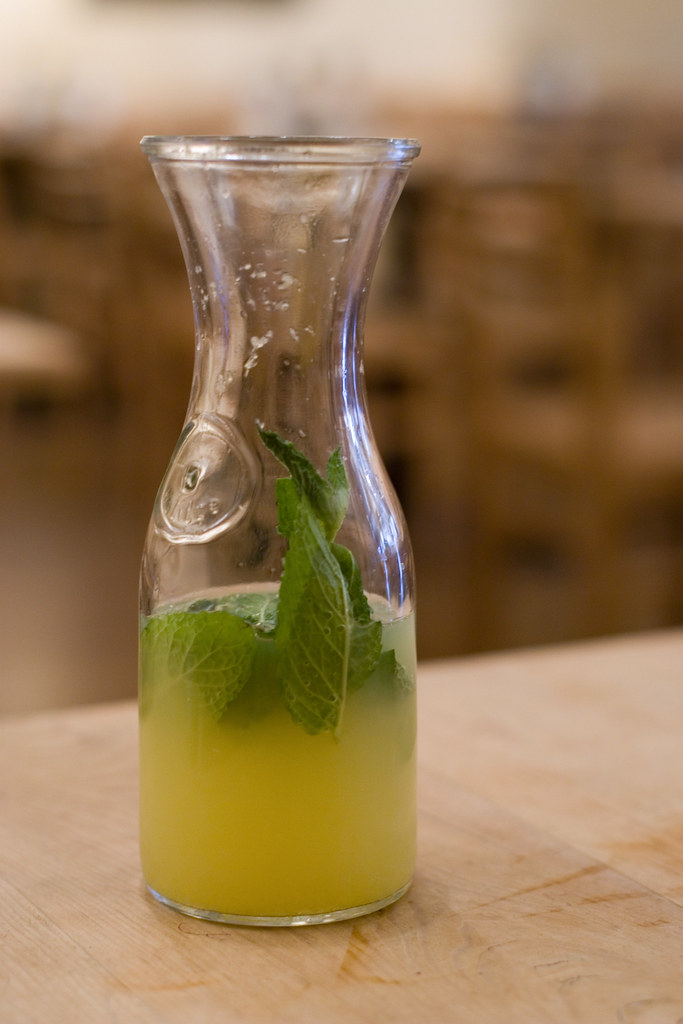 mint lemonade |
they include pics from a thai new year festival and a day trip to the salton sea (links to sets).
 Today I made salmon patties by combining two recipes (one from simplyrecipes.com and another from my mother-in-law) along with a couple of my own personal touches. I was so pleased with the outcome that I wanted to share.
  For the past week, I've been experimenting with dying yarn in the microwave. It is very simple to dye wool yarn or wool roving using food dyes. You can use cake/icing dyes or food coloring or even Kool-aid packets. I like to use Wilton gel dyes (meant for cake decorating), because a small amount of gel goes a long way.
First I soaked the yarn in a mixture of vinegar and water. The vinegar acts as a mordant and helps the dye bind to the wool. I used a microwave-safe ceramic dish with a cover to hold the yarn and vinegar-water bath. Next, I prepared the gel dyes by mixing them with water in small pyrex cups. For these examples, I mixed up 2 or 3 different shades for each skein. The yellow-orange yarn was made with lemon yellow, golden-yellow, and orange. The bluish yarn was made with royal blue and violet. The lime yarn was made with lemon yellow and leaf green. The darker green yarn was made with teal and leaf green.
I sprinkled the dye on the yarn somewhat haphazardly to give the yarns a variegated look. I covered the dish and microwaved the yarn for around 5-7 minutes until the water bath was clear (meaning that the dye had absorbed into the wool). Then I rinsed the yarn in cool water to get rid of the vinegar smell and hung it to dry. You can also dye larger amounts of yarn on the stove with this basic method, but you have to be careful not to agitate the yarn too much or it can start to felt together. The pink thing in the photo is a hyperbolic crocheted plane made from non-dyed store-bought wool.


for my photo.a.day today, i decided to participate in the youngme/nowme photo contest. the idea is to start with a photo of yourself as a young child and try to recreate the same photo, but of yourself now. the most important factors should be your pose and facial expression, but other things to consider are clothing, colors, lighting, environment, props, composition, etc.
i was unable to mimic my surroundings exactly since my patio looks nothing like the one from the original photograph and also couldn't recreate the composition of the original photo because my patio was too small to place the camera anywhere else and still fit myself in the photo. i also didn't have clothes that looked similar, so i just wore my current day choice of lounge/sleepwear. the colors were pretty different/distracting, so made both photos black and white, adjusted the levels a little, and added some grain to the new one to try to match the original better.
http://colorwar2008.com/submissions/youngnow
the idea is to take a photo of yourself when you were a child and then try your best to recreate it---the pose, facial expression, clothing, environment, etc. check out the results in the gallery, they are pretty fun/funny... in fact, take a minute to browse the rest of the site, there are some other interesting challenges and games like photoshopping a merit badge...
i think i might give it a try... anyone else want to?
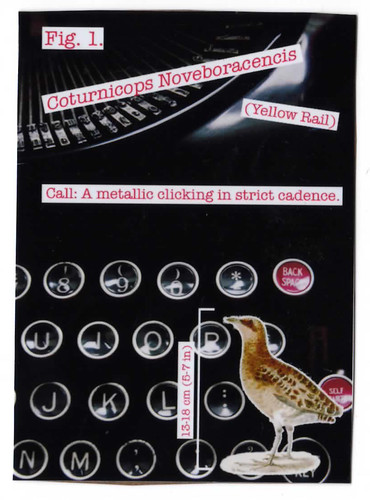 I made my second ATC today; this time I used digital collage. I was inspired by a page I stumbled across in Why Birds Sing: a Journey Through the Mystery of Birdsong. The Yellow Rail's bird call sounds like a typewriter. I found an audio clip of it's call and you have got to listen to it - it is really incredible.
The information I included on the ATC about the Yellow Rail is from Cornell Lab of Ornithology's All About Birds. The image of the Yellow Rail itself is by artist nineteenth century artist James DeKay.

i made some soup for dinner last night. i sauteed chopped onions, carrots, and celery until the onions were clear, then added chicken broth and rice and boiled everything for about 20 minutes. then i added some frozen (fresh would be fine too, probably better) baby spinach at the end with a little salt and pepper to taste. it was very simple, but tasted yummy and healthy too...
 For the past few weeks, I've been learning to crochet with the help of my neighbor and YouTube crochet videos and various websites. I started out trying to make a hyperbolic plane, but didn't get very far. It took me awhile to figure out that I was doing a slip stitch instead of a single crochet, and I kept undoing my work because it didn't look quite right.
Meanwhile I started obsessing over the crochet undersea creations featured at The Institute for Figuring and at Helle Jorgensen's Gooseflesh blog. So I started making crochet barnacles (not in picture). This weekend I made lots of crochet tubes and sewed them together to make a crochet tube sponge. The tubes are each about 2-3 inches long and there are 17 of them so far. The sponge measures about 6 inches across. Ian made the green kelpy thing on the right (he wants to add wires to make it stand up). The pink thing on the left is the start of one of my hyperbolic planes. The clownfish were borrowed from a tiny toy aquarium.

 I found out that my camera does not filter out infrared light, so all I have to do is put on an infrared filter and I can take infrared photography. So I took it out for a spin yesterday, and it was too bright out to check the preview on the LCD. When I got home I discovered that all of my subjects were out of focus. That's the first one of the kid, at Baker Beach. Turns out I needed to compensate for a focus shift with infrared. Today I tried to account for it by focusing at 2/3 to 3/4 of the distance to the subject, with moderate success. That's the second one of the tree, in Japantown. It's still very iffy, so bracketing a few for good measure will probably be the best way to go. As if I weren't slow enough with the manual focus....
|
|
i'm continuing to try to take a photo a day. it's hard to keep up---some days i feel like doing it more than other days. i ordered a camera bag to replace my purse and plan to carry my camera with me most of the time... i hope that will make it easier...


today i made a stuffed pig. it's the 2nd stuffed animal/object that i've made, the first being a football. i think that i have a hard time picturing what something will look like in 3d as the piggie turned out to be very oddly-shaped and not at all like i pictured---supposed to be a round ball w/ 4 feet sticking on the bottom, and a tail behind him. instead, he is a little angular, lopsided, and oddly proportioned, but that's ok, i like him anyway. he will eventually be attached to a baby mobile (other people will be making other animals/shapes) and will be given as a gift to a friend who is expecting in june. he is about 4"Wx3"Lx4"D.

yesterday, i had afternoon tea with some friends. we each made one or two dishes, the menu was:
* scones (orange pecan and date)
* clotted cream and jam/jelly
* banana chiffon cake
* matcha cupcakes
* chicken salad sandwiches
* cucumber dill cream cheese sandwiches
* egg salad sandwiches
* sesame squares
* strawberries, plain and chocolate dipped
* meat buns
* mini quiches (mushroom and spinach)
yummy!
i made mini quiches and egg salad sandwiches by combining recipes that i found online:
****** mini quiches ******
from this recipe, i found advice on making mini quiches in the comments section:
Reviewed on Oct. 12, 2004 by hope03
These might be okay appetizers, but these are not quiches. To make PERFECT mini quiches, use the Cream Cheese Tart Shells recipe on this site and also the Basic Quiche by Shelley. Use a mini muffin tin. I placed a tiny cube of pepper jack cheese, a tiny piece of canned mushroom and a tiny tear of frozen spinach (defrosted) in each cup, then filled with the egg mixture. Baked at 350 for 15-20 minutes until edges were beginning to get golden. Ah, they looked and tasted very professional!
here are the recipes that she refers to:
recipe: cream cheese tart shells
recipe: basic quiche filling
i pretty much followed hope's instructions, but i added tiny cubes of pepper jack, havarti, and mozzarella cheese instead of just pepper jack. i also used baby chopped spinach. i think i added the specified amount of salt to the quiche mix, but it maybe could've used a tiny bit more... i baked them for longer than 20 min, more like 25-30 min.
****** egg salad sandwiches ******
i combined these 2 recipes:
http://allrecipes.com/Recipe/Egg-Salad-I/Detail.aspx?prop31=3
http://allrecipes.com/Recipe/Egg-Salad-III/Detail.aspx?prop31=5
and added the following:
8 eggs
2 T country dijon mustard (a little bit sweet)
4 T mayonnaise
1 t dill weed
1 t paprika
1 T minced red onion
1 celery stalk chopped
1 T pimento stuffed green olives chopped
salt/pepper to taste
i think i added a little too much salt but was otherwise happy with the egg salad. also, i followed these instructions to boil the eggs---a couple of them cracked a little, but it seemed ok otherwise. does anyone have better/different advice?
 | subway |
 | mandarin fetus |
 | ganesh |
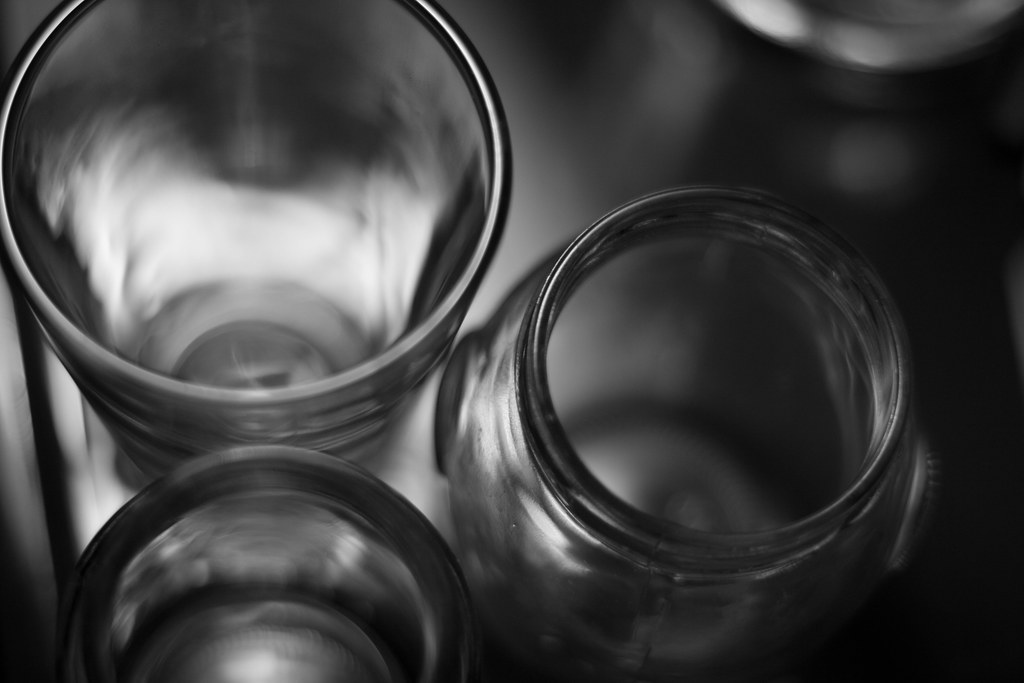 | jars |
 | bike rack |
 | bcam |
 | date scones |

|

|
|

|

|
|